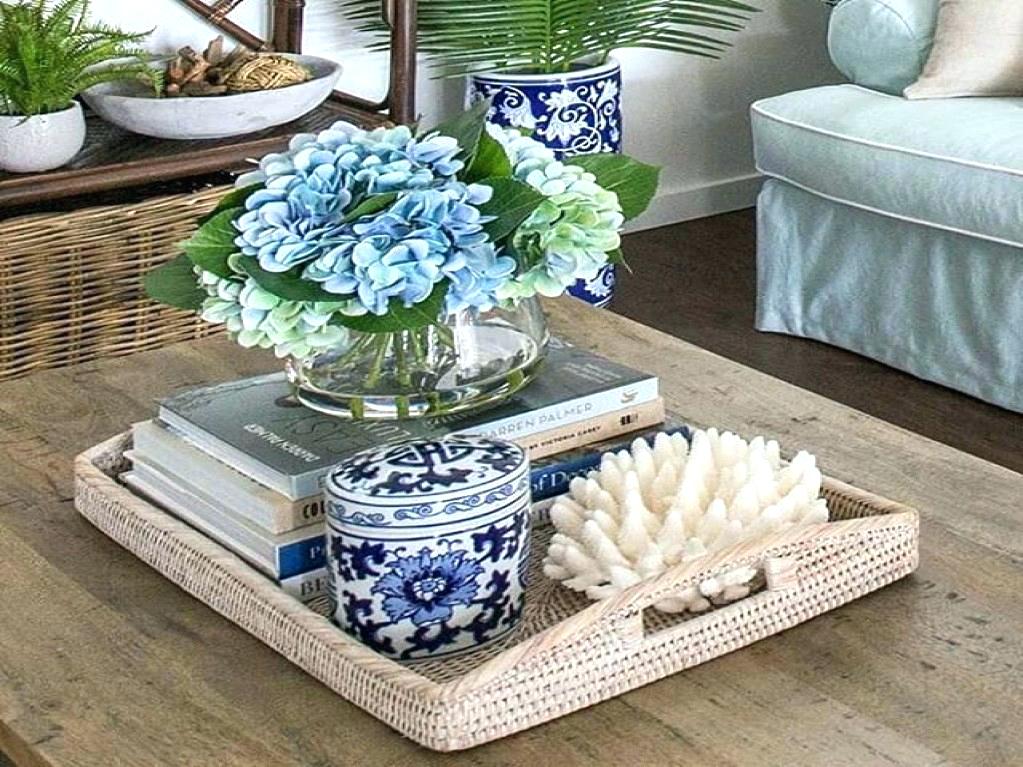
Many of us like to have a snack while sitting at the TV while watching something interesting film, but without a tray you won’t be able to bring a lot of goodies at once, and crumbs on the furniture and floor can cost you quite a bit from your better half)) It’s also convenient to bring breakfast to bed on a tray, waking up your loved one with the pleasant aroma of freshly brewed coffee. In general, the device is useful in home use.
Making a tray from wood is quite simple, for which you need to take boards from a pallet or wooden box, plan and sand them. Using wood glue and clamps, glue it into one whole board, and then make sides from poplar or aspen boards. The resulting surface is coated with polyurethane-based varnish, and the sides are painted with white paint.
So, let's look at what exactly is needed to make a tray?
Materials
1. boards from a pallet or wooden box
2. wood glue
3. screws
4. wood putty
5. polyurethane based varnish
6. white paint in a can
Tools
1. hacksaw
2. plane
3. grinder
4. screwdriver
5. brush
6. clamp
7. sandpaper
8. ruler
9. pencil
10 masking tape
Step-by-step instructions for making a tray from natural wood with your own hands.
As already mentioned above, the first step is to prepare the planks by disassembling the pallet or wooden box. Saw to the same size, process with a plane and sand.
Then the resulting blanks should be glued together into a single whole; this can be done using wood glue and clamps. The edges of each board are coated with glue and placed next to each other, when everything is assembled and coated, everything is tightened with clamps.

The boards should remain in this position until the glue dries completely, which is at least 24 hours, after which the clamps are slowly loosened and removed, and excess glue is removed from the surface using a chisel.

Then the surface is thoroughly sanded using grinder or regular sandpaper.


We remove all excess with a chisel and level it.

Then we carefully sand it with sandpaper so that there are no burrs left.


This box is twisted with clamps and remains in this position until the glue dries.

If you used self-tapping screws to assemble the structure, then the caps should be recessed in advance into the cavity of the wood by countersinking the holes, and then the screw heads should be filled with wood putty. This putty can be prepared independently, for which you will need carpenter's glue and sawdust after sanding (fine), mixed with glue and brought to homogeneous mass, it should be thick semolina porridge)) and then we simply apply the prepared composition to the desired place and level it. No worse than the store-bought equivalent)

Excess glue is removed with a chisel and the surface is sanded with a grinding machine.

After which the tray must be painted and varnished, bottom part The master seals it with masking tape so that when applying paint from a spray can no paint gets on it.

Painting work is best done in a well-ventilated area; if there is none, just go outside and paint. Don’t forget about basic protective equipment (respirator, gloves)
Among the offers of modern furniture stores there are interesting coffee tables with a soft tabletop, if you can call it that. They look interesting in the interior, but they are never practical. Juice or coffee stains on them are not as easy to wipe off as from a regular wooden or glass countertop. For all owners of such a miracle and simply those who love breakfast in bed, we suggest making such a tray. It is stylish in appearance and not expensive in cost.
Materials
Before making a tray with your own hands, make sure you have:
- boards from a pallet or box;
- hardwood boards;
- white paints;
- polyurethane-based varnish;
- masking tape;
- saws;
- sandpaper;
- brushes;
- chisels;
- clamps;
- wood glue;
- roulette;
- self-tapping screws;
- drills;
- screwdriver or screwdriver;
- pencil.
Step 1. Decide on the dimensions of the tray and, based on this, cut the boards you have from the box or pallet to length. In this case, I wanted the boards to look like one after gluing, without joints, seams or other irregularities. To do this, the boards had to be adjusted to each other and in thickness.

Step 2. Using clamps and wood glue, all the boards should be glued together, carefully pressing them together so that none of them gets out of line. After the workpiece has dried, all excess glue should be removed and the surfaces thoroughly sanded.


Step 3. You will need to make the sides of the tray from boards of light wood. In this case, poplar was taken.
When cutting wood, base it on the perimeter of the base and the height you want for the tray.
On the side edges, be sure to mark the cutouts for the handles. Also take into account the height at which the base will be attached so that the slots do not extend onto the bottom.

Step 4. After cutting out the holes, sand them thoroughly. They must be perfectly smooth.


Step 5. Using wood glue and clamps, glue the sides to the base.


Step 6. You can use self-tapping screws as additional fastenings.
Step 7. After the glue has dried, remove any excess. Cover the holes formed by the fasteners with wood putty. After letting it dry, level the surface with sandpaper or a sander.


Step 8. Cover the bottom of the tray with masking tape. Apply two layers of paint to the sides. After it dries, remove the tape and leave everything until the surface is completely dry.
What to give for the holiday to the woman who has everything? Of course, the holiday atmosphere. And you need to start from the very beginning. We only give what we made especially for her. What woman wouldn’t want to start her holiday with a fragrant cup of coffee in bed? And only the closest people know the lady’s preferences - vintage luxury or expensive simplicity. A tray is a simple detail that can emphasize your attitude towards the woman you love.
What is a tray?
Of course, you can easily purchase any tray in the store - expensive or not, for everyday use or special occasions. But making a tray with your own hands will be much more interesting. First, let's figure out what it is.
This is a surface on which you can place several objects and move them to another place. Trays must have sides. There are also products without them, but this does not add practicality to them. It is not advisable to serve a tray without sides in bed, since the unstable surface of the bed can cause liquid to spill on the linen, and this, you see, will upset any housewife. So, a tray is not just a board with handles, but always with sides.
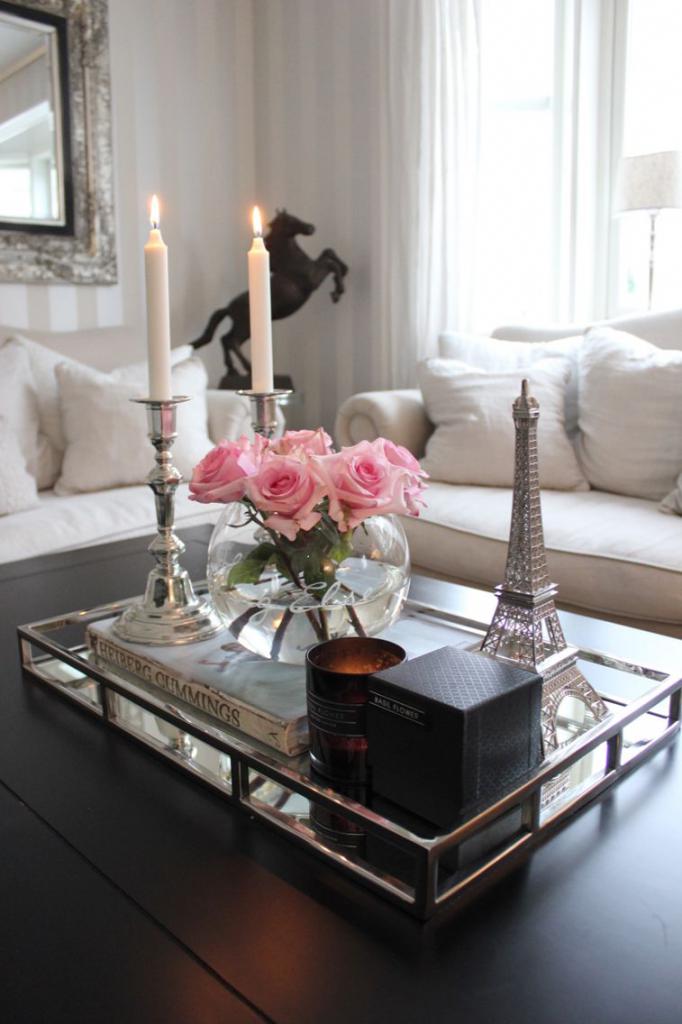
Photo frame tray
How to make a tray with your own hands? There are several ways. The simplest ones involve taking almost ready-made trays. For example, you can purchase cutting board without a handle. The board can be wooden, plastic, plywood. The main thing is that it does not bend under a slight weight and that it can be worked with.
Select a photo frame based on the size of the board. You shouldn’t skimp on glass, as you can hide any decor under it, for example, a photograph, which will remind you of a pleasant day for a long time.
The frame should be screwed to the board with screws or nailed. If the material does not lend itself to this method of fastening, you can glue it. To make it easier to take the tray, we attach furniture pull-out handles on both sides. Everything can be pre-painted in the desired color or decorated in any way.
Old cabinet doors
Many craftsmen suggest not throwing away cabinet doors, but using them to create a tray with your own hands. To do this, take a door that has sides. We disconnect all the hanging fittings from it. We clean out existing irregularities and eliminate defects. If necessary, we rub the places where the hinges were screwed on with putty.
Don’t leave flaws in the hope that they will be covered up when decorating. It is better to eliminate them and not then sculpt decor where there is a hole or chip. Decorative elements It is better to place it where the sense of beauty suggests. We decorate to taste. Next we screw on the handles. The tray is ready.
Old picture frame

If there is old frame, in which there was a mirror or photographs were stored, you can also use it as a beautiful rim for a tray. Cut the bottom out of plywood to the size of the frame, decorate the resulting surface with a piece of fabric. The bottom can also be painted or decoupaged using patterned paper napkins.
If there is glass along with the frame, you can use it as an additional decoration. It is possible that a painting stored in a frame can be used to decorate a tray. You can screw the handles to the frame from the side so as not to disturb the design.
The frame itself can be updated with gold paint. Good decision will use varnish or resort to a burner to emphasize the beauty of the design.
Boards in action
If you want to make a tray with your own hands and get something original, you need to take a board and a lath. It's good to polish both. Cut the board with a saw or jigsaw into equal pieces. At the edges, connect them with a strip, nailing it to the end parts of the boards. You can stain or varnish, paint in any color or decorate to the taste of the future owner of the tray.
To make a wooden tray with your own hands, you don’t need any special skills. Next, we screw ready-made furniture handles or make them from thick ropes, having previously drilled holes in in the right places. If you make the rope handles longer, the tray can be used as hanging shelf, and the length of the handles can be adjusted from below using special clamps.
Beauty from plywood
You can make your own tray from plywood. It has long been known that plywood is a very malleable material. If you have skill, imagination and a minimal set of woodworking tools, you can make an amazingly beautiful tray with a unique design.
Of course, it won’t be easy to call it practical, but any housewife will definitely like it as a decoration for the kitchen. The main thing is patience and desire. You can think through the design yourself, or you can just look it up on the Internet and make something already invented by a real master.
Trays with legs
Some tray models require legs. Making a tray with legs with your own hands is not difficult. Currently, you can purchase ready-made legs, which you just need to attach to a homemade tray.

If you want to think through everything yourself, then in stores building materials can be found large number tubes that are suitable for a DIY table. In addition to the tubes themselves, there are all kinds of connectors that can act as decoration. If you have the skill, attaching them to the tray will be easy. If you don’t have the skill, you can simply watch a video in which masters share their best practices.
Decorating trays
Making the tray is half the battle. It needs to be decorated. Several ways to decorate trays:
The simplest one is to varnish it. If the tray is made of wood, its texture itself will become the most pleasant decoration. You can purchase a tint varnish that will add liveliness to the design.
If you are not interested in wood for decoration, you can do decoupage on a tray. Always original, fashionable and attractive. Plus it's quite easy to do. Choose the pictures you like, stick them to your liking, cover them with varnish - your unique tray is ready.
You can paint the tray using stencils.
Mosaic will also be a worthy solution. Only to implement this idea requires skills. If a lot of small coins have accumulated in the house, they can also be used to decorate the tray.
The main thing is to remember for whom the tray is being prepared and what the tastes of the person to whom it will be presented are.
We can easily afford breakfast in bed or a cup of coffee on the veranda if we create an elegant wooden tray with our own hands. Wooden tray- an indispensable item in the household, you can make it if you have the necessary tools for the job and wooden materials. This type tray - convenient, practical and aesthetically pleasing, useful everywhere: in an apartment, in a country house or in country house. You will need some plywood, a cork backing and some tips from the tutorial.
To work you will need:
- wooden plywood 5 mm thick;
- wooden board 2 cm thick;
- square for measuring and marking;
- power saw or bow saw— a sharp saw with guides for miter cuts;
- end plane;
- vice;
- drill;
- pencil;
- grinding machine;
- dispersion glue for wood;
- hammer;
- small nails;
- matte paint on water based;
- brush.
Let's get to work by preparing the above materials. Wood plywood Cut 5 mm thick into a rectangle 35 by 50 cm. Wooden board cut into 4 parts: 2 sides and 2 handles of corresponding sizes. On a board 31 by 7 cm using a ruler we draw the future handle.


Using a drill and a round bit, drill holes with a diameter of 2.5 cm, take a jigsaw to cut a hole and bevels on the top side of the tray handle.


We apply the finished pen to the board and trace it with a pencil, this is necessary so that the second pen turns out to be the same size and shape. Sides size: 50 by 4 cm.


Finished parts must be sanded with fine sandpaper. We glue the tray parts with dispersion wood glue.


We clamp it with a vice and remove excess glue with a dry cloth. Cut out the bottom and other parts from the cork backing.


We hammer together the bottom and sides with small nails. Cork backing glue with the same dispersion glue.


We put the tray under the press, it could be plastic bottles or a bucket filled with water. The final stage of work is to coat the tray with matte water-based paint in two layers.
