Many owners of private houses dream of additional space. It is for this reason that the decision arises to finish the attic. Such a room can be used as another living room, gym, office or library. It is enough to have certain building skills in order to carry out repairs and interior decoration in a couple of weeks. For this purpose, drywall and lining are optimally suited, although other materials can be preferred.
Walls
Warming
First of all in the attic walls need to be insulated which will help to avoid significant heat losses. As a heater, it is best to purchase mineral wool.
First, a waterproofing layer is laid. The material is overlapped with hammered rails or a construction stapler.
The next step is to choose the location of all the walls. Depending on this factor, waterproofing material can be laid between the rafters, leaving a small gap for air circulation.
It must be remembered that in the presence of a brick partition, the insulation costs fix on both sides of the wall. On the inside, the material is laid together with a waterproofing layer, and on the outside, waterproofing and insulation are used, on top of which drywall or lining is mounted. In this case, the slopes do not need to be insulated. It is enough to attach a little waterproofing material to them to protect the room from excess moisture.
Partition preparation
To perform attic zoning, you should make some partitions.
- From the last beam on the ceiling to the floor itself, it is necessary to install a board 10-15 cm wide and 2 cm thick.
- Then the installation of horizontal bars is carried out.
- The partition on the reverse side is sheathed with boards, between which it is necessary to leave a gap of 0.5 mm.
- On the inside, a layer of hydro- and thermal insulation is fixed.
Only after completing these works, you can start finishing the attic with drywall.
For the implementation of interior partitions, it is necessary to prepare special wooden bases. The width of the partition should be from 10 to 15 cm. Some craftsmen prefer to use a channel. Such profiles are fixed in the wall on both sides with self-tapping screws. Inside the structure, it is necessary to lower the channel, and then install these products horizontally. On the one hand, the partition is sheathed with a finishing material. So, drywall is fixed with screws to a metal structure, and the lining is fixed with nails on horizontal bars. After that, you need to start finishing the second side.
Plasterboard sheathing
 Even a novice master can figure out how to sheathe an attic with drywall. So, first of all, it is necessary to sheathe the gables and slopes, and after that it's time for the ceiling.
- For sheathing slopes on the rafters, it is necessary to fix the bars at a distance of 1 m.
- Then, in these gaps, the bars are installed horizontally.
- Next comes the installation of drywall on the base.
- After that, it remains to close up holes and cracks.
Clapboard lining
There are many options for interior decoration of the attic, the photo of which confirms this. So, especially often for this purpose lining is used. It is carefully cut and attached to a wooden base with nails at the junction. After each sheet, it is necessary to check the location of the material using a level. If this is not done, then distortion will be inevitable. At the end of the work, the lining must be varnished.
Plywood sheathing
If for some reason you do not want to use drywall or lining, then you can purchase ordinary plywood. In this case, the surface of the walls will be even, which means that both wallpaper and paint are ideal for finishing.
For finishing the attic, plywood is used with a width of 1.25-1.52 cm, a length of 1.52-2.5 m, and a thickness of 3-5 mm. It's best to give preference for moisture resistant material, since leaks in the attic are not excluded.
Plywood is mounted on the frame, using nails or self-tapping screws for fixing. In the central part, the material is placed at intervals of 30 cm. It is also necessary to leave gaps of 3 mm. They will not be needed if the plywood has tongue-and-groove edges. Finishing begins with slopes and gables, and then proceed to the ceiling sheathing.
OSB sheathing
The advantage of OSB boards is the ability to fix the material directly to the rafters. In other words, the installation of an additional frame, which is necessary when finishing the attic with drywall, is not required in this case. For fixing normal nails will do. Before starting work, you need to make sure that the surface is perfectly flat. For interior cladding, it is best to use polished products, because it is much easier to work with them.
Thanks to the use of OSB-plates, the attic walls can be finished with wallpaper or fabric, after pre-priming the surface with a composition with the addition of PVA glue and applying a layer of latex putty. Also, acrylic and oil paint can be applied to OSB-plates with a spray gun or a brush. It is better to use the water-based composition only for interior or exterior decoration, because because of it the plate can bend.
Floor
 Used for floor insulation various thermal insulation materials. It is best to give preference to mineral wool or glass wool. They should be laid over the entire area of \u200b\u200bthe attic between individual beams. The thickness of this layer should be at least 10 cm. It is also necessary to protect the attic from excess moisture. It is for this purpose that a waterproofing layer is used. If the overlap between floors is represented by a concrete slab, then a screed should be performed.
Attic flooring needs a special foundation. This is a boardwalk 4 cm thick, which is laid on the beams. It is best to give preference to conifers, especially fir, larch and pine. The popularity of this wood is due to its strength, ease of processing and wear resistance. When doing this, make sure that the boards are dry. Otherwise, large gaps will appear during operation. Before installation, the material should be coated with antiseptic compounds that can protect the flooring from fungus, pests and rot.
Laying boards is carried out along the logs, between which it is necessary to leave a gap of up to 2 mm. For convenience, all materials are numbered. First, the installation of the first board is performed and its location is checked. Then the rest of the boards are installed in order and secured with nails.
Ceiling
![]() Performing the interior decoration of the attic, it is necessary determine ceiling height. The optimal parameter is 2.2 m. If the ceiling is lower, then tall people in the room will feel discomfort, and it may also be difficult to install cabinets.
Performing the interior decoration of the attic, it is necessary determine ceiling height. The optimal parameter is 2.2 m. If the ceiling is lower, then tall people in the room will feel discomfort, and it may also be difficult to install cabinets.
It is necessary to take measurements from the floor to the rafters. Only after that you can proceed to the device of the base of the ceiling. First, a bar is installed between the opposite rafters. To make the structure more durable, you should nail a few additional bars with a step of 50-100 cm.
The finished attic ceiling is sheathed with boards or drywall, and a waterproofing layer and insulation are fixed on top. A stretch ceiling often acts as a finish. If desired, the wooden surface can simply be varnished.
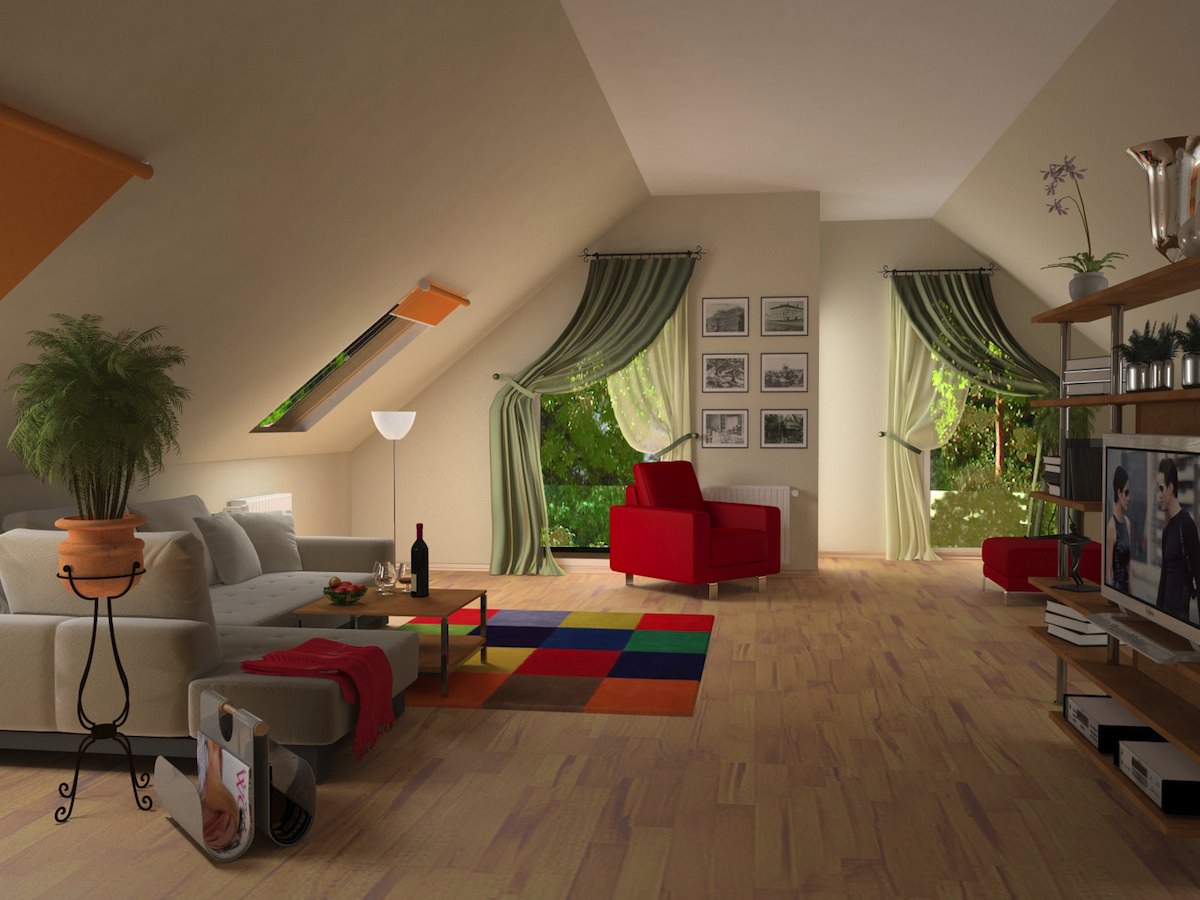
Examples of attic interior decoration